If you are from another country, besides Canada, please don't stop reading. This can information will help set you and your company apart from others around you, adding credibility, quality and financial gains to your organization.
Credibility:
By filling out daily work sheets, you have the opportunity to provide your customers with paperwork stating testing on the foam installed in their house has been completed, as well as the results from these tests. Most potential customers are aware of the negatives that which may occur during the spray foaming process. As long as you can address the negatives in a positive way, you can use them in your advantage.
Everyone knows that if its not applied correctly a various negative things can happen. Why not tell the home owner that once the job is over you will have over a sample of the foam, along with a report saying the tests resaults proving it has passed? It will make them feel confident the job was done correctly. By doing this, you reassure them that their "dream home" will not turn into a "nightmare home" just because they hired the wrong company to apply the insulation. Everyone loves reassurance when doing something "big".
Quality:
By doing these tests it possible to prevent high density foam from being applied, potentially spotting adhesion/cohesion issues, as well as poor cell structure (cell structure is a totally different rant, I'll save it for another time).
Financial gains:
There are many ways these test can provide financial gains. One of the obvious ones come from being able to notice high density foam before you spray an entire job (hoping you make the correct changes to bring it back to normal). The difference in profits from a set of foam being sprayed at 2.5 lbs per cubic feet compared to a set being sprayed at 2.0 lbs per cubic feet is $1200 (assuming you sell it for $1 per board foot).
Another way to see financial gains from this testing is by proving credibility as well as quality. This allows customers to see your value over your competition. Extra value equates to being able to charge slightly more for your work. This means instead of charging $1 a board foot, you can potentially charge $1.05 a board foot. Doesn't sound like a lot, but on a 10,000 sqft job that's an extra $500. Over the year that can add up!
Hopefully by know you can start to see the advantage of doing daily work sheets, as well as testing the foam on every job. So now let's move on to what these test are as well as what tools are need for each one.
What's in a test kit?
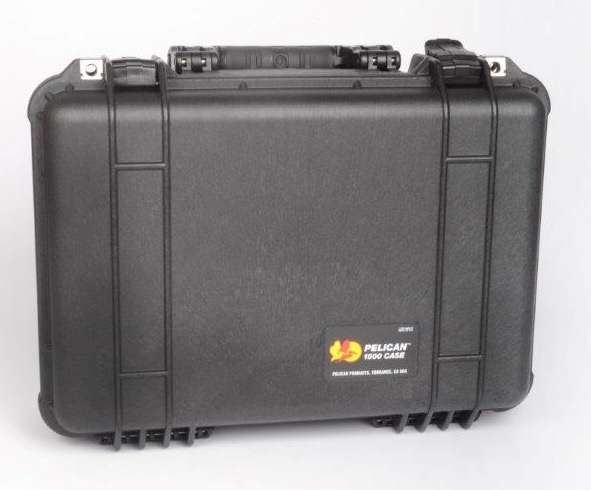
1) Protective case - After spending all this money on testing equipment, you want to keep it safe right?
What are the two type of tests?
The first test is a density test. Obviously this test will tell you the density of the foam you are applying. You can do this for both open cell and closed cell foams. Although it's two different techniques.
Let start with the closed cell test
You will need the following devices:
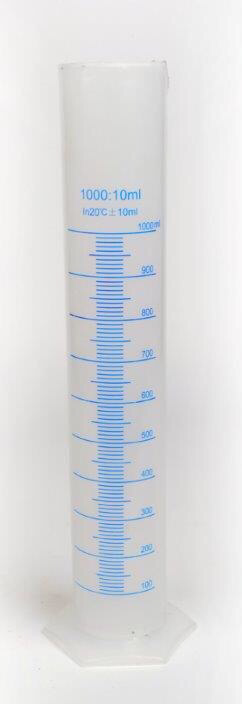
1000ml Graduated Cylinder
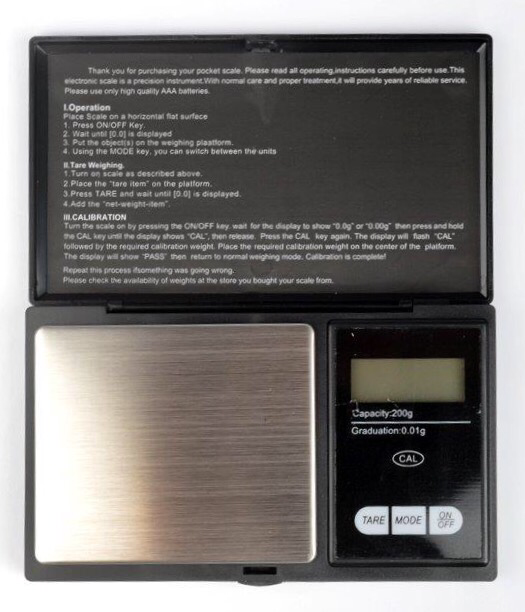
Digital Scale (measure in grams to 2 decimal points)
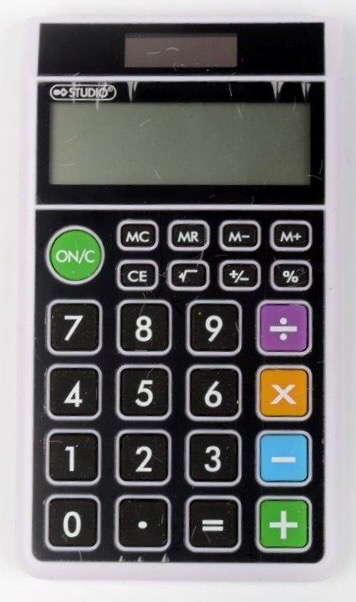
Calculator
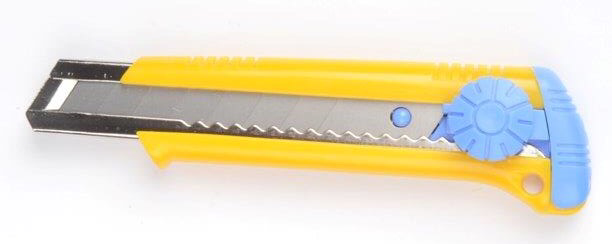
Knife
To preform a density test you will need to cut a sample of foam (preferably from a cavity you sprayed). Your sample should weigh at least 5.5 grams and smaller than 8.5 grams. It must also be skinny enough to easily fit into your graduated cylinder. When cutting your sample piece remove both the top and bottom skins. Try to cut at least 1/4 or so away from the surface.
Your idea sample will:
Have zero pass lines through it
No tearing of the foam (from cutting with a dull blade)
Will not be crushed in any way
Between 5.5 and 8.5 grams.
Next fill the cylinder with 500 ml of water. It doesn't have to be exact, but it's critical that you know how much you start with.
Now you must totally submerge the sample in the water, you want it to be just under the water surface. Take note of the change of the water level. Record this number.
To find the density take the weight of the sample, divide by how much the water level increased and then multiple that by 62.4.
The formula looks like : (grams/water change) * 62.4.
That will give you your density per cubic foot.
Next the open Cell test.
To preform a density test with open cell foam, you will need to cut out a section which you can easily measure the height, width, and depth of (4 inch cubes moe nice samples). After you have the sample all measured up, you will need to find the weight in grams.
Once you have this information, you will take the weight and multiple it by 3.81. Next take that answer and divide it by the volume of your sample (length x width x height).
The formula looks like : (grams x 3.81) / volume
This will give you your density per cubic foot.
The second test will be the adhesion test.
To complete this test, you will need the following devices:
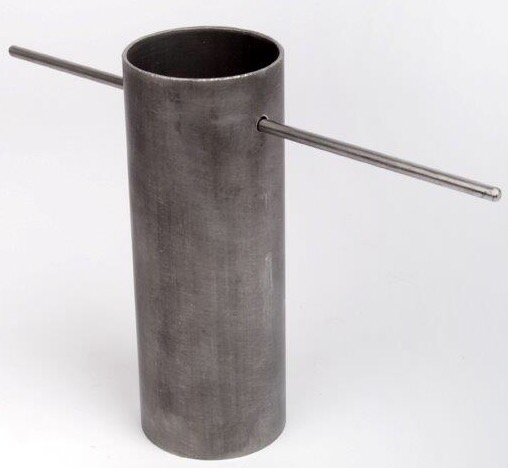
Coring tool (70 mm)
Puck with a hook
Knife
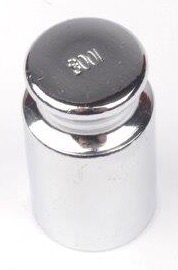
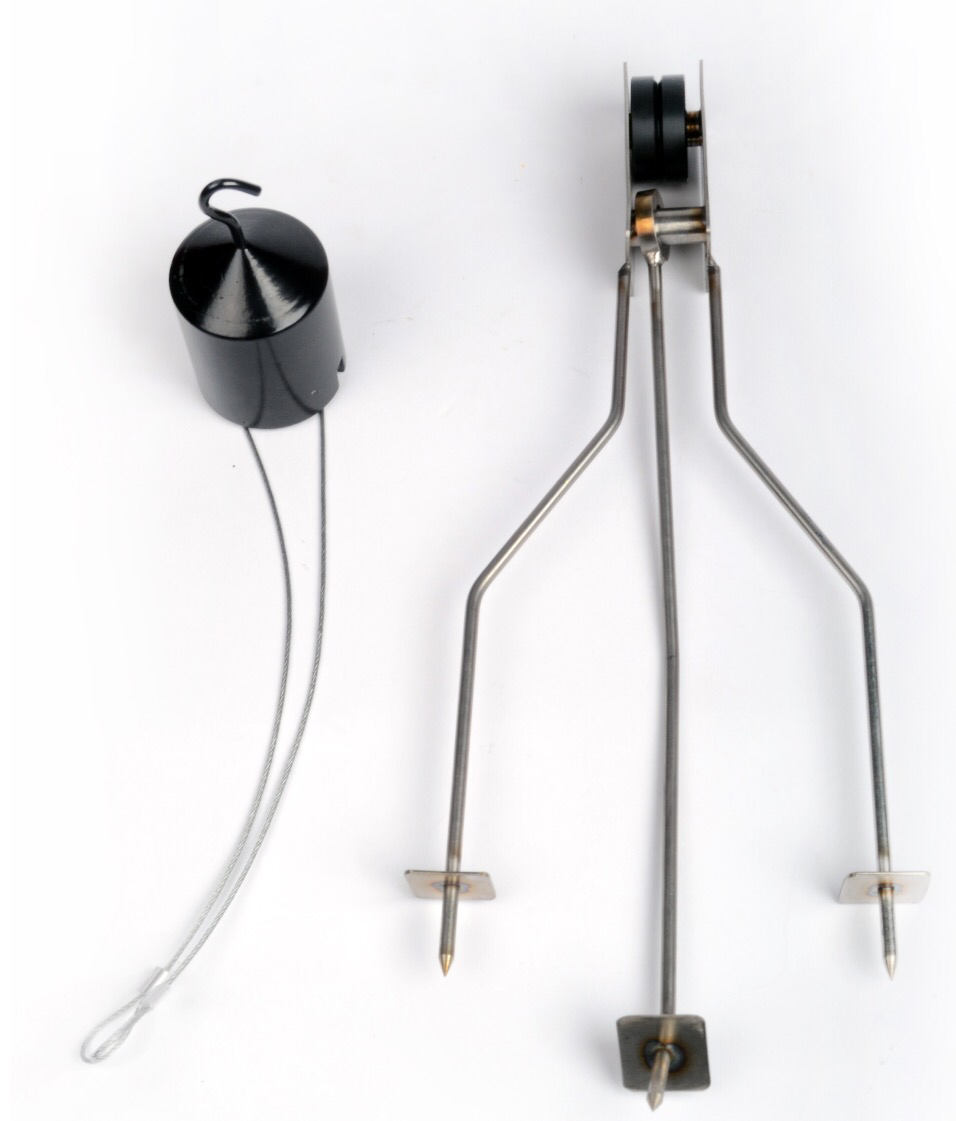
Pull tester (or tripod with 1000 gram weight )
Epoxy (or wet spray foam)
In order to test adhesion you will want to find a nice spot of foam (which is attached to the substrate). Next you will need to take the coring to and with a twisting motion cut the foam right down to the substrate. This will create a nice 70mm "foam island" which is attached to only the substrate. Be careful when removing the citing tool. It's best to twist is while slowing pulling it back. If you are too aggressive, you will break your sample.
Next you want to adhere the puck (with a hook in it) to your nice "foam island". You can do this with epoxy, or simple give the back side of the puck a quick shot with foam, and quickly hold it in place until it hardens up.
If there is any foam or epoxy that leaked past use your knife to cut it all off.
Now you should have a nice "foam Island" with a hooked puck glued to it.
The next step is the actual test itself.
If you are using the pull testers (make sure you zero it out), simply hook it to the hook centered in the puck and pull back until it reaches 1000 grams (2 lbs). If you can do this with out the sample pulling off the wall, you have passed the adhesion test!
If you are using the tripod, simply set it up so the hook on the puck is centered between the top two prongs. Next take the wire and connect one end to the puck, and the 1000 gram weight to the other end, and lay the wire around the wheel, letting the weight hang. If you can do this without the sample pulling off the wall, you have passed the adhesion test!
If you used spray foam to glue the puck to the sample, you have actually done another test at the same time. You were able to check cohesion a as well (that's how good the foam sticks to itself). You can also check cohesion by finding a spot, to sample, where you have applied more then one pass.
If you have any other questions or comments, please ask away!
Thanks for reading,
Rex Tailor


 RSS Feed